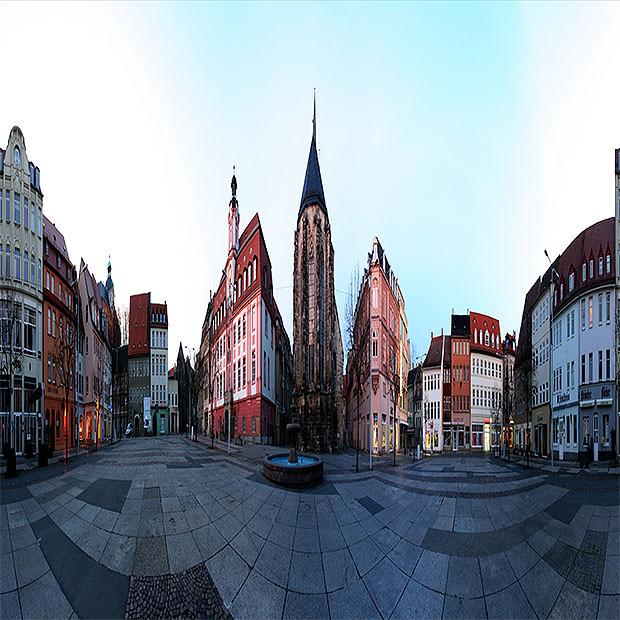
Small World Panorama - Create 3 projects using panoramic photos from internet. Include before (source image) and after (project) images.


Instructions for Panorama.
1. Photoshop Panorama Worlds -5 steps (see attachment)


Making your planet
Got your image? Good. Time to turn it into a planet.
1. Make the image square
Because of the way stereographic projections are made, we need to start with a square image. Go to Image > Image Size. Uncheck "Constrain Proportions" and set the height to match the width.

This will squash your image and make it look distorted. Don't worry, this is normal.
2. Apply a sky gradient
Ths step is optional but will prevent the corners of the final image looking stretched and warped.
Select the gradient tool and set the left and right colour sliders to match the dominant sky colour. Set the left-hand opacity slider to 100% and the right-hand one to 0%.
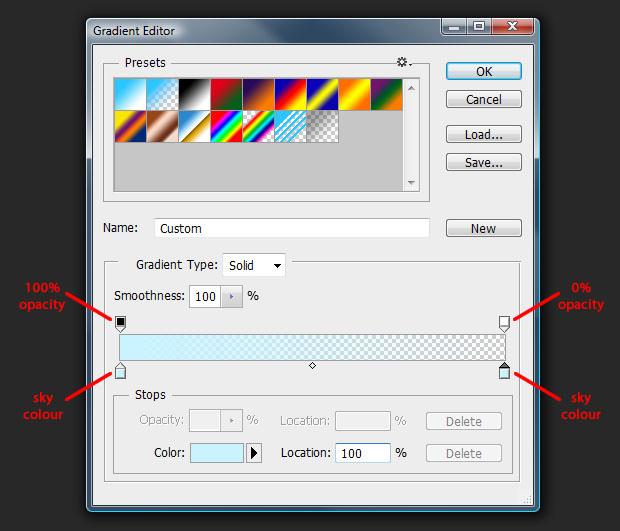
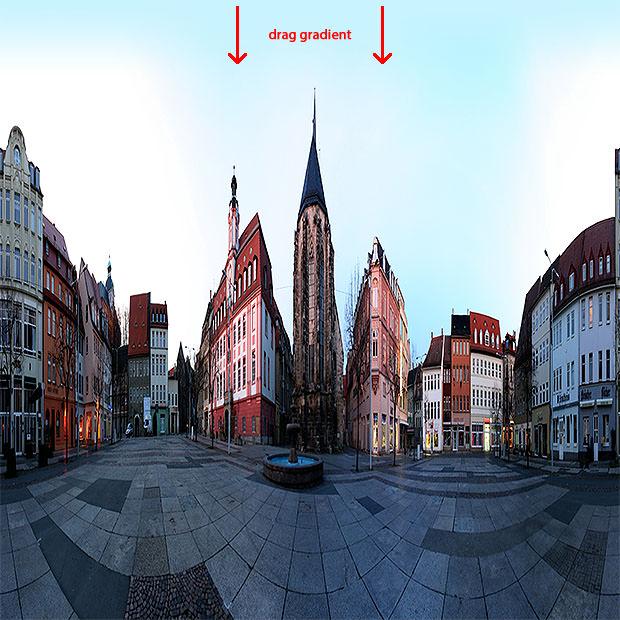
Drag a gradient from the top of your photo downwards a little distance, to produce a smooth transition to the solid colour.
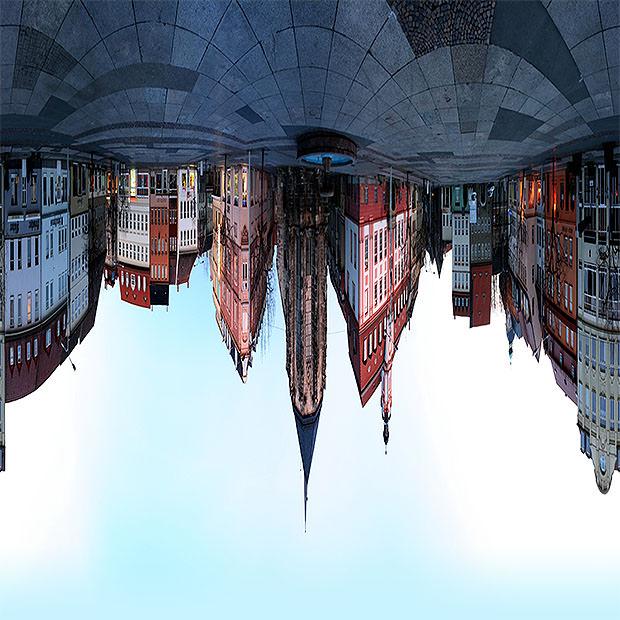
3. Turn the photo upside down
Use Image > Image Rotation > 180° to flip your image upside down. This ensures it wraps the right way when we turn it into a planet.
4. Apply the Polar Coordinates filter
Go to Filter > Distort > Polar Coordinates. Make sure "Rectangular to Polar" is selected and hit "OK".
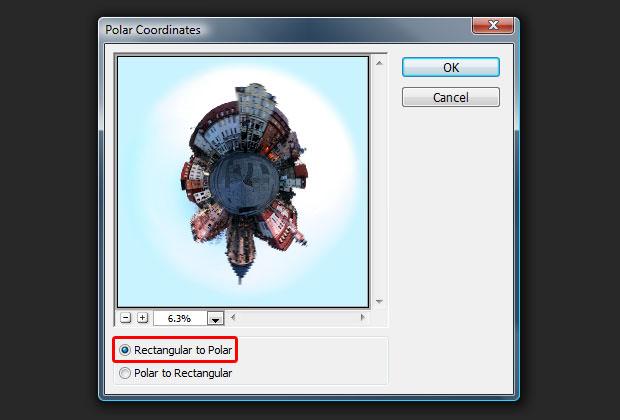
Voilà;! Your panorama is now wrapped into a circle and looks like a little planet photographed from above using a fisheye lens.
5. Finishing touches
Check the upper centre of your photo to make the sure things look smooth where the panorama's edges were joined. Use the Clone Stamp or Healing Brush to fix any problems.
If you'd prefer your planet to be a different way round, now is the time to rotate it. This will leave white corners, but you can fill those with the same colour you used for the gradient. Re-crop your image and you're done!
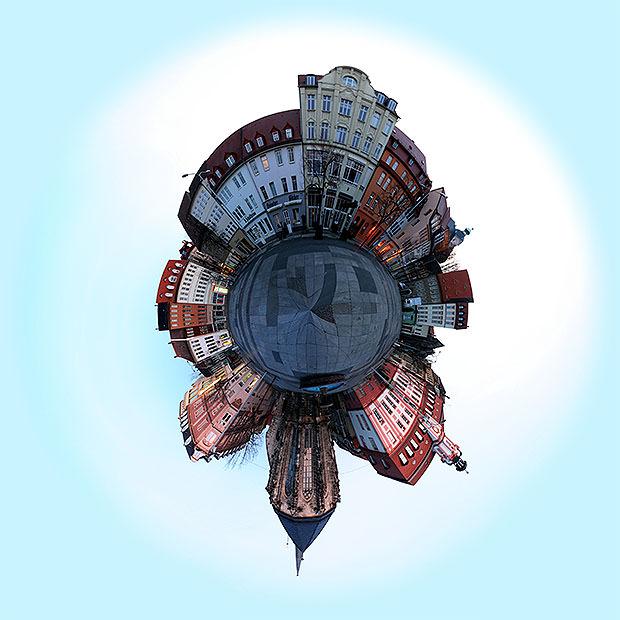
Our finished planet photo.
Creating little planet photos is extremely easy once you get the hang of it. You can produce some fantastic effects by experimenting, so don't feel you have to stick rigidly to the above instructions. If you come across any interesting variations then please share them in the comments.
Examples and inspiration
Here are a few examples showing what's possible when you combine this technique with a little bit of creativity and imagination.

Use a photo with varied terrain to create a jagged asteroid effect. Original image by Victor Engmark.


No comments:
Post a Comment